The WC Customer Journey plugin for WordPress is a powerful tool that allows store owners to track and analyze the customer journey on their e-commerce website. This plugin is specifically designed for use with the WooCommerce platform and provides detailed information on how customers interact with your site, including which pages they visit, how long they stay on each page, and which products they view and purchase.
One of the key features of the WC Customer Journey plugin is its ability to create custom tracking events, which can be used to track specific actions taken by customers on your site. This allows you to gain a deeper understanding of how customers interact with your store and identify areas where improvements can be made.
Another useful feature of the plugin is the ability to view customer journey data in real time on every order of your WooCommerce store. This allows you to quickly identify and respond to trends and patterns. The plugin also provides a tool to set the cookie duration.

The WC Customer Journey plugin is a valuable tool for any e-commerce store owner looking to improve the customer experience on their website. It allows you to gain a deeper understanding of customer behavior and identify areas for improvement, ultimately helping to increase conversions and revenue.
How to install, activate and use WC Customer Journey
Installing and activating the WC Customer Journey plugin on your WordPress website is an extremely easy process. You just need to follow the steps below:
Download the WC Customer Journey plugin zip file from Pluggable.io, Log in to the dashboard of your WordPress website and go to the “Plugins” menu.
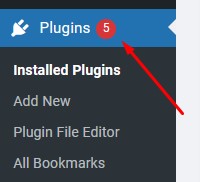
Click the “Add New” button to add a new plugin to your site. Upload the zip file you download from Pluggable to your website, and click on the “Install Now” button.

Once the plugin is installed, click on the “Activate” button to activate it.
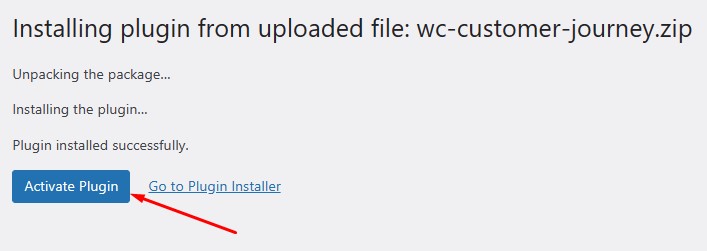
After you’ve completed these steps, the WC Customer Journey should be fully installed and activated on your website.
On the admin dashboard, you will find the WC Customer Journey settings within the submenus of WooCommerce.
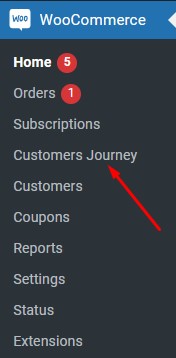
There will be 3 tabs to set cookie time, tools, and the license activation option.
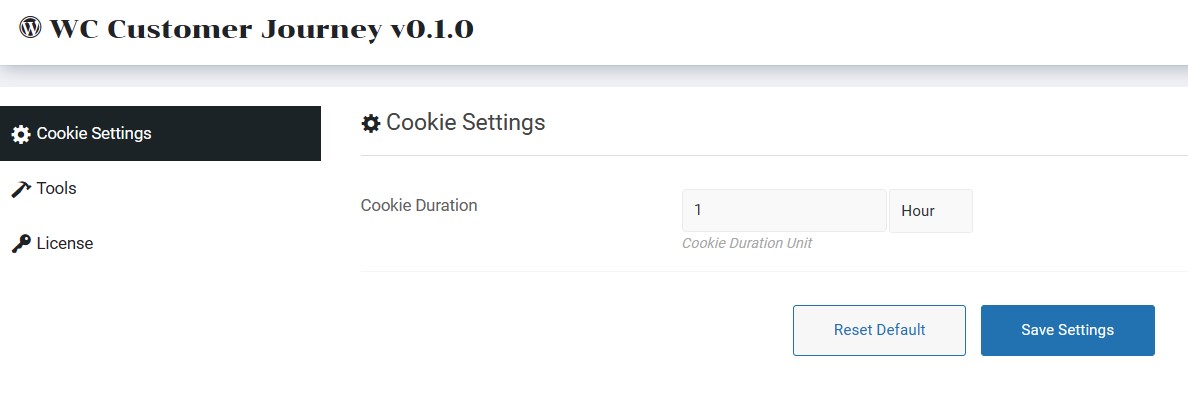
Click on the license tab and activate the plugin with the license you got after purchasing the plugin from Pluggable.
After successfully activating the license key you should now see the customer journey timeline under every new order made on your WooCommerce store.

If you have any issues with the installation process or the plugin is not working as expected, contact us anytime for support or troubleshooting.
| Plugin Category | Ecommerce |
| Installation Guide | |
| Changelog | |
| PHP version | 7.4 |
| WP Version | 5.0 |
| Tested up to | 6.0 |
Reviews
Just the plugin we need.Our main income come from addsense .So it is important for us to know which page interest the user most.
After using the plugin now we can target the right page for advertisement.
You must log in to submit a review.
